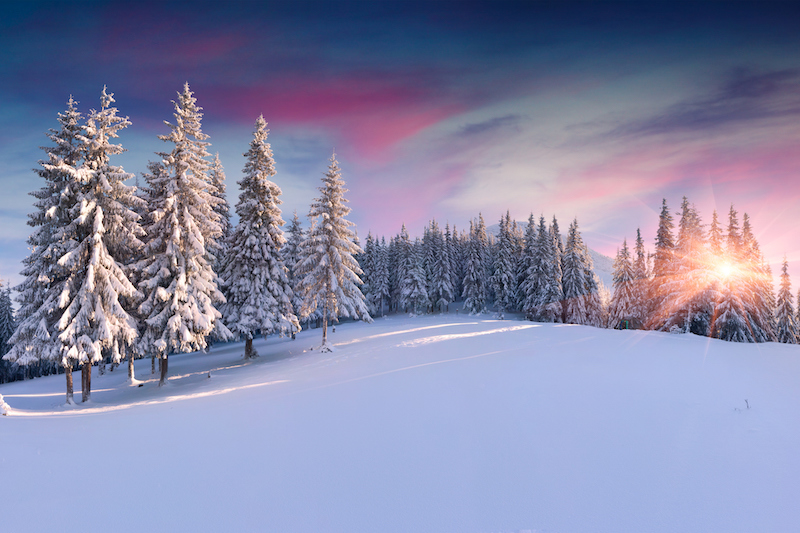
Are you dreaming of a white Christmas? For many of us, even though we know that snow can bring travel disruption and all kinds of other complications to our daily lives, we still want to see the magic happen!
And if you are a keen photographer, the arrival of snow brings with it a wonderful opportunity to get some fabulous scenic shots. But as this opportunity is usually time-limited, it’s important to make the most of it.
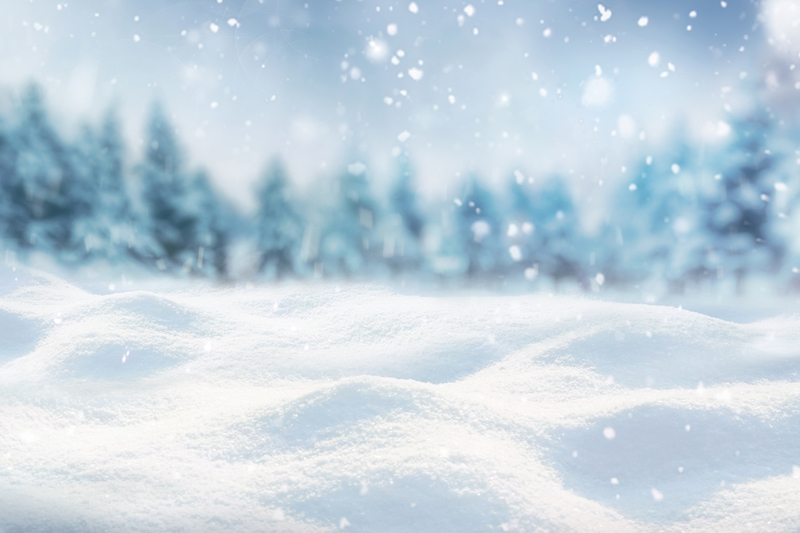
So in this article we share a few tips on how to get the best snowy photography this winter.
One of the most important factors in getting the best snowy photography is timing. Snow changes very quickly, so when it’s there, be ready! Minutes can make a big difference.
If you want to catch snow actually falling you need to be out there straight away before it either stops falling or starts melting. So watch the weather and have your gear packed and ready to go in an instant. See the next section for our suggestions on what to take.
Speed also applies if you are trying to get images of freshly fallen snow. The longer you leave it, the more likely there are to be footprints, discolouration or patches of melting snow. For a perfect winter wonderland image you need to head out as soon as the snow has fallen.
AS we have just seen, timing is of the essence for fabulous snowy shots. So the main priority is to get out there and start shooting. Or if you are already out and about and get an unexpected snowfall just use whatever gear you have to get the best shots that you can.
But if you are able to prepare in advance, there are a few things that may help you to achieve the best snowy photography. Here are some suggestions:
Your camera sensor uses available light to create an image. The larger your sensor, the better the quality of that image, particularly in challenging light conditions. A larger camera sensor will gather more light, creating a better image overall.
It’s a good idea to get a rain cover for your camera, or you could use an umbrella in non-windy conditions. In snowy conditions it’s very easy for your camera to get damp and this can cause problems if not quickly sorted. So as well as the rain cover, take a small towel or microfibre cloth to wipe any moisture or snowflakes off your camera lens.
Camera lenses come with a lens hood, which can help to protect the front of your lens from falling snow and prevent droplets causing spots in your images. A lens hood can also help to reduce unwanted reflections from snow in your images.
Another way to reduce snow glare and reflection is to use a polarising filter on your camera lens. For more information on polarising filters, check out our guide What do camera lens filters do and which are the best to use?
Tripods are invaluable in many different photography scenarios and can really help you to get the best snowy photography shots. A tripod will keep your camera steady and enable your shots to be as sharp as possible even in difficult weather conditions.


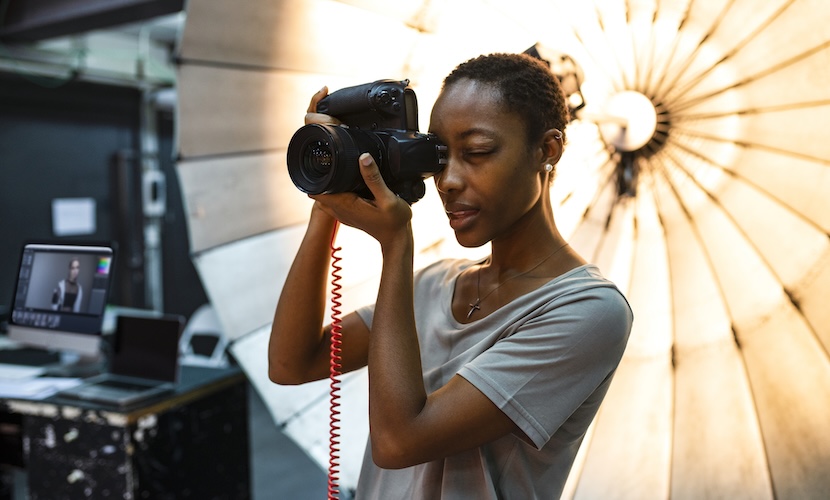
To get really good shots in any situation, you need to be confident about the best combination of camera settings to use. Our guide – Want to Learn About Photography? Start Here! – explains the concept of the exposure triangle, a combination of three settings :
One essential ingredient in achieving the best snowy photography is to be confident about these key settings on your camera.
Many digital cameras have an Aperture Priority setting. This enables you to set the aperture value manually, then the camera automatically adjusts the shutter speed and the ISO for you. It still gives you a measure of control over the settings but gives you less to think about and fiddle with while you are placing your shots.
It’s also a good idea to shoot your snowy photos in RAW mode. This is a lossless, uncompressed file format that stores a larger than usual amount of information about your image and enables a much greater range of post-shot editing. It could make a huge difference in helping you to achieve the best snowy photography.
It may sound an obvious thing to say but snow is very white! And if you just want white in your images then that’s great. But it can be more effective to use an element of contrast in your shots to emphasise the brilliance of the snow.
Three ideas on how to do this are:
Contrast can make a big difference to your images, and pave the way for your best snowy photography ever.


When taking photographs in the snow, be open minded about angles and perspectives. It’s natural to focus on larger landscape shots. But take a minute to consider some other shots too.
For example, snowy weather is a great time to practise your macro photography skills. Macro photography is the close up photography of small subjects such as snowflakes, water droplets, insects and flowers. You can read more about macro photography in our article How to succeed in Macro Photography.
Another popular technique to try is Bokeh. The word is Japanese and literally means “blur”. In photography Bokeh is all about creating a high quality out-of-focus area in your image. And if you have an out of focus background of light sparkling on snow this can create a lovely bokeh effect.
In falling snow, try a wide aperture setting such as f/1.2 to f/1.8. Then focus your camera on your main subject from a reasonable distance. This should mean that your subject will be in focus, but the snowflakes will create a lovely bokeh effect in your shot.
We hope that our tips help you to understand more about how you can achieve the best snowy photography this winter.
Do check back here soon for more helpful photography guides from Print Your Memory.