Do you ever wish you knew more about photography? Perhaps you love taking photos – and actually think you’re pretty good at it – but you don’t really understand the ins and outs of how it all works.
So how can you get better if you don’t really know how to start? In this article we take a whistle stop tour of photography for beginners. We will cover lots of things that you need to know – including things that you didn’t know you didn’t know!
Here are ten tips on how to learn about photography:
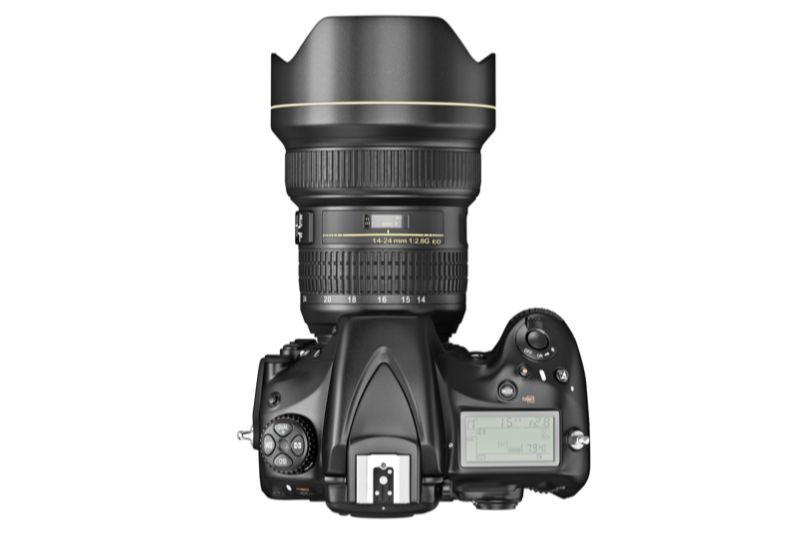
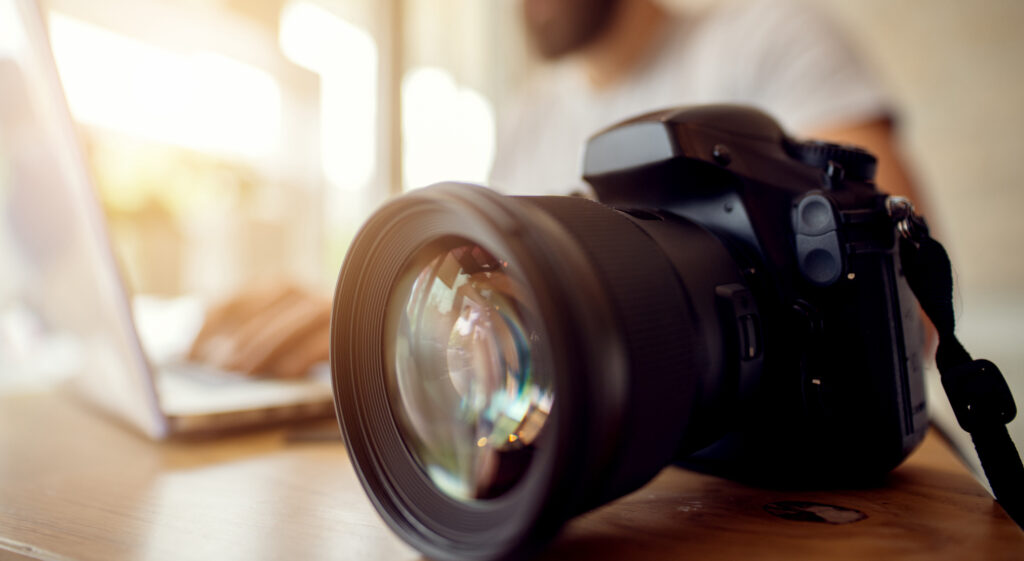
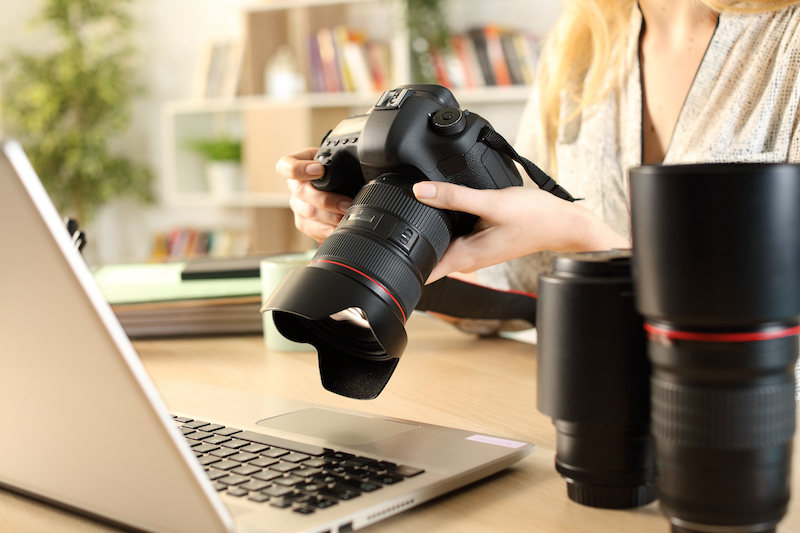
If you really want to learn more about photography we’d recommend that you get a DSLR (Digital Single Lens Reflex) camera. Whilst you can achieve some excellent results with a phone camera, there are many additional features that you can get with a stand alone camera.
However, this does not mean that you have to spend a small fortune on your camera. Many simple – and reasonably-priced – DSLR cameras are excellent quality. Like any other item of equipment or technology, an entry-level camera you buy today is likely to have many more powerful features than a top of the range camera you could have bought several years ago.
By the end of this article you should have a clearer idea of the kinds of features you want your new camera to have. But a few things to look out for are:
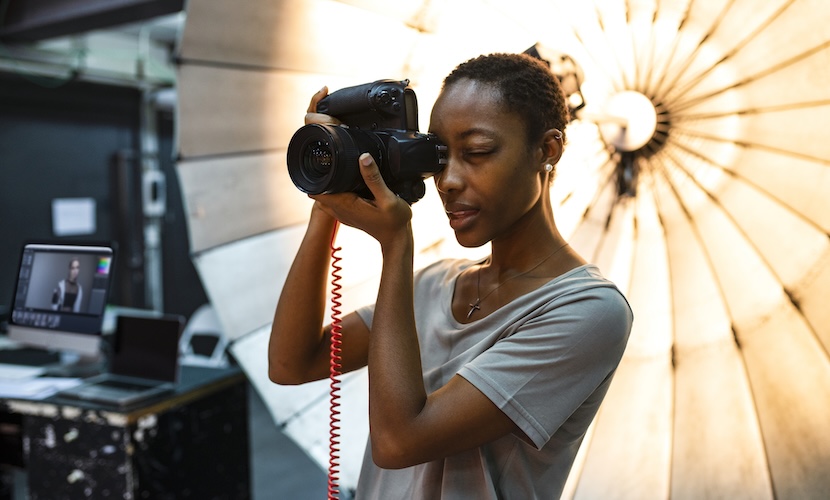
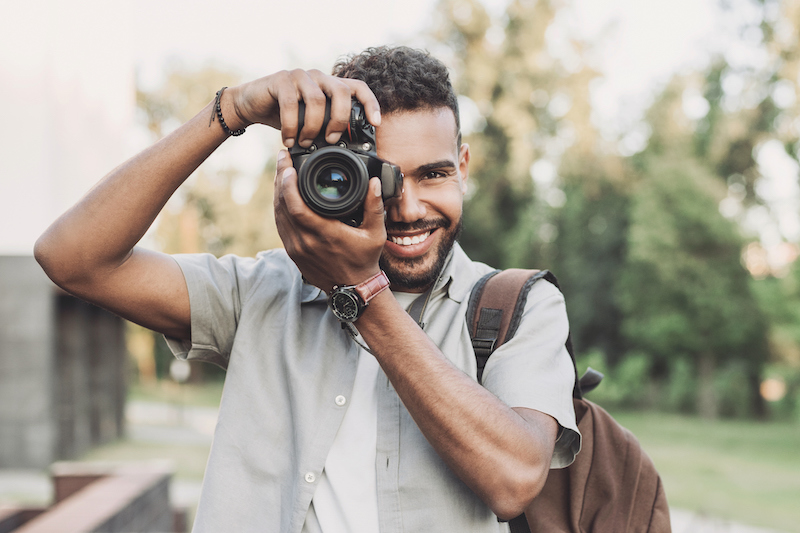
This may sound strange, but no matter how good your camera is, you need to learn to hold it well. If you don’t hold it correctly, it could shake and result in blurry images. You need to hold your camera firmly with both hands, with one hand under the lens to support the weight of the camera.
If you are planning to take a series of shots from the same location, consider using a tripod. You can take your time to set up your camera and use the tripod to hold it in place. Tripods can be particularly helpful for multiple shots of stationary subjects, and can help you to get sharper photos.
We’ve just referred to taking time to set up your shot, and this is one of the keys to success in photography. Yes, you may sometimes get lucky with a spontaneous shot, but most really good shots involve a bit of advance planning.
So think carefully about the end result you are trying to achieve and set up your shot accordingly. Don’t feel constrained by convention. Experiment with taking shots from a range of different angles, heights and perspectives to see the different impact a photograph can have in these conditions. The more confident you get in doing this, the more interesting your shots could become.
Another factor to bear in mind when setting up a shot is “the rule of thirds”. This is an important concept in photography. It is based on the process of dividing your image into a noughts and crosses style grid of two horizontal lines and two vertical lines.
To create a balanced shot, the most important elements in your photograph should be positioned either along the lines, or at the points where they meet.

Most people use cameras in automatic mode. But one of the secrets of how to learn about photography is to stop letting the camera make all the decisions for you, and to experiment with the camera settings yourself.
In order to do this effectively, you need to be aware of three of the main settings and what they do.
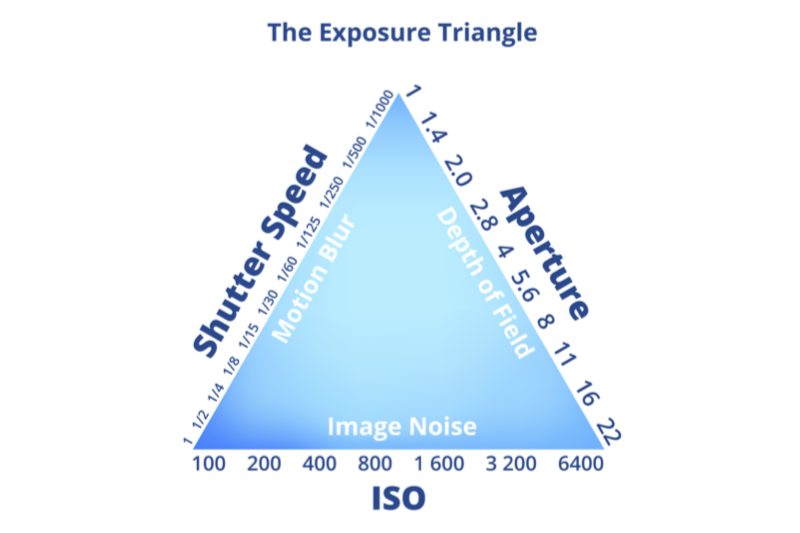
These three settings are aperture, shutter speed, and ISO. Between them they form what is known as “the exposure triangle”.
Aperture controls the amount of light coming into the camera lens, and affects the brightness of the image as it falls on the image sensor. We mentioned sensors earlier, and it is the sensor that captures light and converts what you see through your viewfinder into an image.
Whilst aperture controls the amount of light coming in, the shutter speed determines the length of time during which light enters the camera lens. The longer the shutter speed, the brighter the photo.
ISO is a photographic standard (International Organisation for Standardisation) used by digital camera manufacturers. It controls your camera’s sensitivity to light. A higher ISO can brighten a photo, so is helpful for images in darker environments. However, if your ISO is too high, your photo can become grainy (or “noisy”) and may be poor quality.
If you are serious about improving your photography skills, it is well worth reading about these three settings in your camera manual then spending time experimenting with different combinations. That way, you will begin to understand the way that they can influence the appearance of your shots.
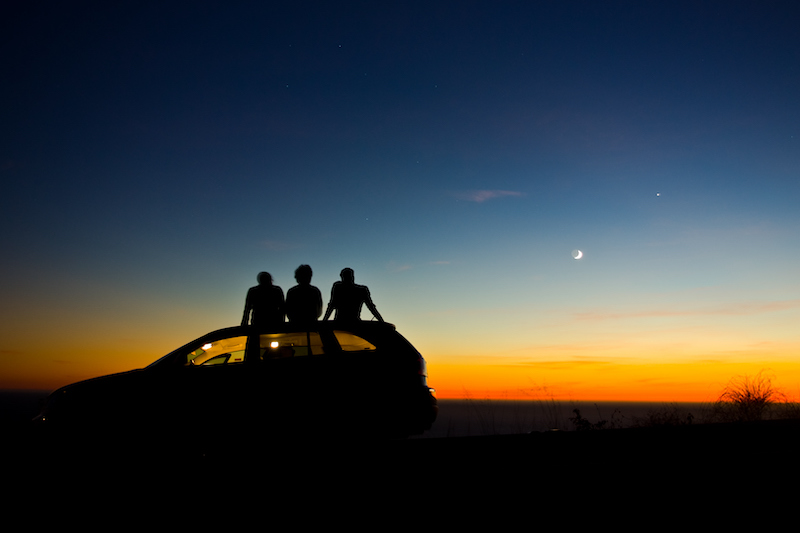
Getting the right amount of light is key to a successful photograph. Unless you have a good amount of light, and a good balance of light between your subject and background, your shot will not achieve the effect that you are looking for.
So make sure that you pay attention to both the direction and softness of the light. Harsh light could result in obtrusive shadows on your subject. If the light is not right, it is worth either trying to move your subject into better light, or waiting till another time when lighting conditions are better.
Another lighting option is flash. Flash is not only for dark environments but can also be used outdoors in daylight to brighten shots and fill in shadows. Your camera will have its own built-in flash, and you can also buy an external flash for extra greater power and versatility. Either way, it’s good to experiment with using flash to learn how it can produce brighter photographs.
Two other interesting photography features to learn about are lenses and filters.
There are many different camera lenses that you can use for different purposes. For example zoom lenses, wide angle, telephoto, fisheye and macro – to name just a few. As your interest and ability in photography grows, you are likely to begin acquiring more lenses for different types of photography.
As well as lenses, there are also filters. A filter is a transparent or translucent element made from either glass or gelatin. It attaches onto your camera lens to achieve a specific effect. For example, polarising filters help to reduce glare and improve saturation, warming/cooling or colour filters can achieve different effects on your shots, and UV/haze filters provide extra protection for the front of your lens.
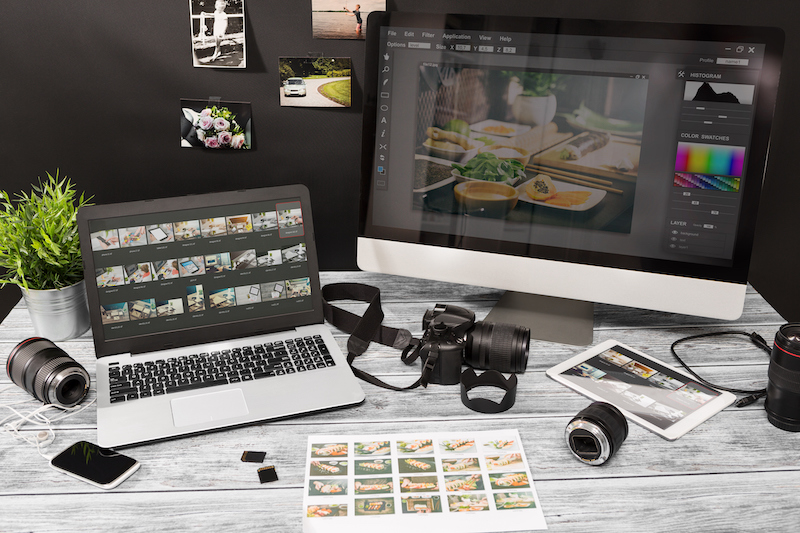
Another tip on how to learn about photography is to shoot in raw mode. Raw image files are the digital equivalent of a negative from a camera film: they capture all the image data recorded by your camera’s sensor. You can then use the raw image file to create the final image the way you want it to be.
You will need some kind of photo editing software, for example Adobe Photoshop or Lightroom, Luminar AI, Capture One or Affinity Photo. This post-processing technology can help to turn a good photo into a brilliant one.
Another essential thing to learn very early on is the importance of looking after your kit. If you allow dust, dirt and fingerprints to build up on the camera lens, it can affect not just the longevity of the lens but also the quality of your photographs. So get into the discipline of keeping your camera kit in good order, and cleaning your lenses regularly with a soft cloth and lens cleaning solution.
The same applies to all the photos you have taken. Take the time to set up a backup storage system right from the start. There are various ways of doing this online, so there is no excuse not to. Imagine if you only had one copy of your best photo ever, and somehow it got lost or damaged?
When storing photos also use a clear naming convention that will enable you to find photographs quickly and easily in future. This becomes more important the more photos you have, and having a good system from the early days can prevent chaos later on!
Last but definitely not least you need to understand that photography is a journey not a destination. You will never know everything: there is always something new to learn.
So always be on the lookout for photography classes, events and seminars, both face to face and online. Also take the time to review your previous work to see where improvements could be made, and help you go from strength to strength.
We hope that these tips help you to understand more about how to learn about photography. Good luck from all of us at Print Your Memory.
______________________________________________________________________________________