If you are one of the many people with a growing interest in photography, you may want to explore the small world of macro photography.
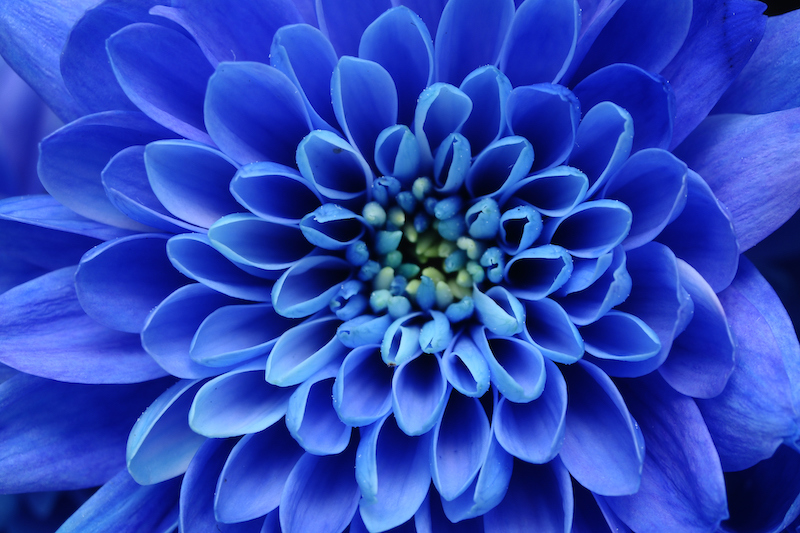
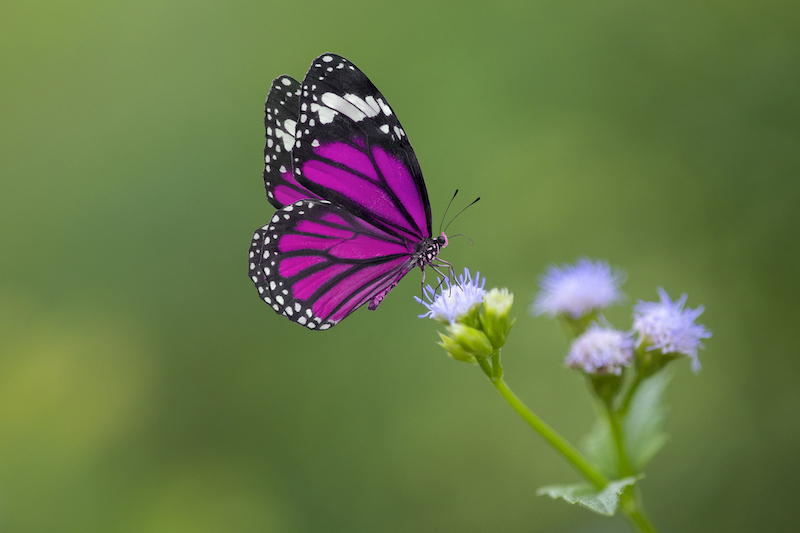
Macro photography is the close-up photography of small subjects. It is generally used for natural objects such as insects, flowers, seeds, water drops or bubbles, but can also be used for household and everyday objects.
In macro photography, objects appear much larger than they are in reality. It enables you to see many small details about an object that are not easily visible to the naked eye. Macro photography is an art in itself, and if you give it a go you may find that you are hooked!
In this guide we take a walk through various aspects of macro photography. We will look at the equipment you will need, and share some tips on how to succeed in macrophotography.
For basic macro photography you can use pretty much any type of equipment. If you only have a mobile phone camera and want to explore macro photography, you can buy a magnifying lens – or set of lenses – to slip over your phone. This kind of lens can capture a large area and also get a lot of detail.
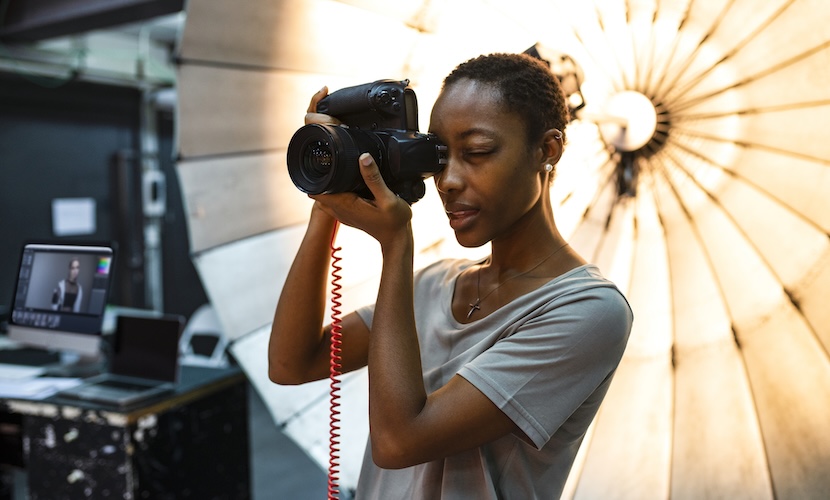
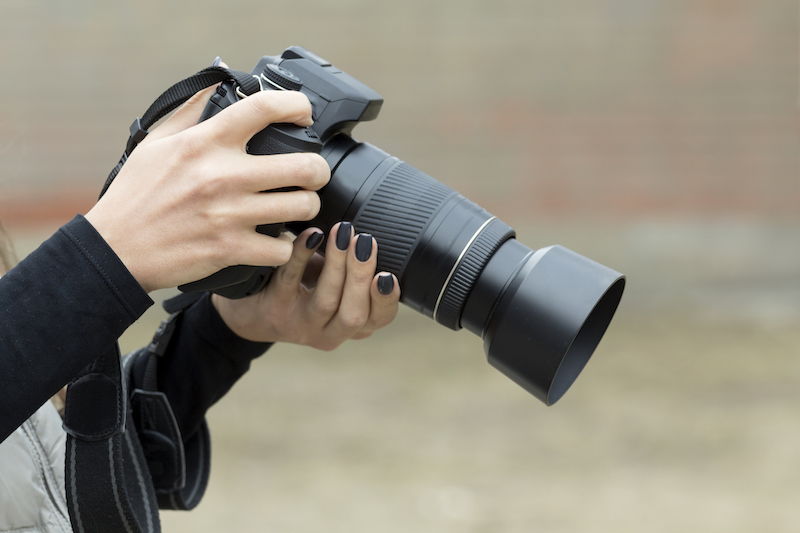
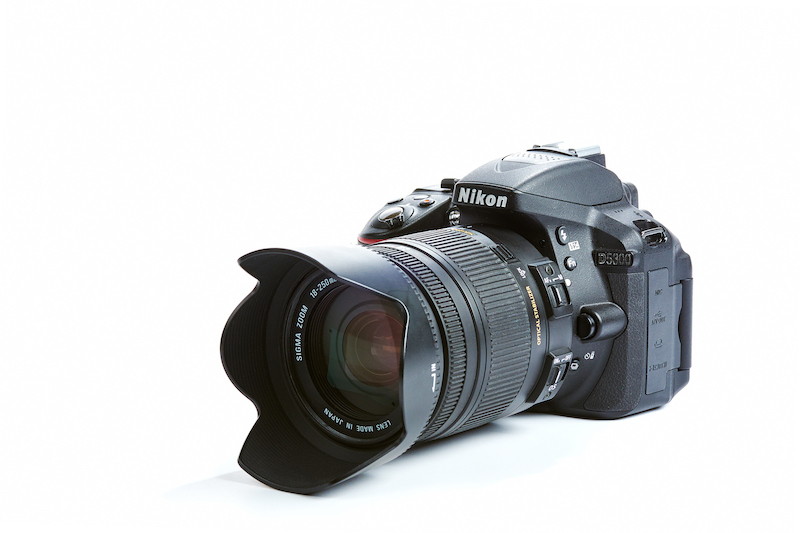
However, most photographers who want to get more involved in macro photography find that either a DSLR camera (Digital Single Lens Reflex) or mirrorless camera works best:
We looked at DSLR cameras in more detail in our recent article Want to learn about photography? Start here. With a good DSLR camera you should have scope to use a variety of macro lenses. Also, the front viewfinder should help to reduce any time lag between seeing the shot you want and being able to press the shutter button in time to capture it. Also remember that the higher the pixel density on your camera, the more detail you will be able to get on your subject.
Some photographers prefer mirrorless cameras – which don’t have a mirror box in the body – because they are more compact. They also have additional features for manual focus, such as focus peaking. However, bear in mind that because there is no mirror to direct the view of the lens to the viewfinder, many mirrorless cameras use an electronic viewfinder to display images digitally.
As well as the camera of your choice, you can also purchase additional lenses for macro photography. These lenses enable you to shoot at different levels of magnification. For example, a 1:1 magnification – also known as “life size” – projects the actual size of your object to your camera sensor. But you can get macro photography lenses that magnify up to 5x actual size.
Look for a lens that gives you a good amount of working distance between the front of your lens and your subject. Ideally you want at least 6 inches so that you are not too close to your subject either to block the light, or to scare it off if it is a live subject.
For really serious macro photography, you may also want to consider a tilt-shift macro lens. These lenses enable you to bring different parts of the object into focus at the same time. However, they are usually very expensive: from around £500 used and £1000+ new.

Once you have the kit you need for macro photography, there are five key steps to go through to set up the perfect shot:
Because of the level of detail in macro photography, the slightest movement when shooting can result in blurring. So when setting up your shot, it can be helpful to use a tripod to keep your camera steady, as long as it doesn’t interfere with the angle of your shot.
The alternative is to find a comfortable position from which to take your shot and hold your camera securely with both hands. It can be difficult to keep completely still so, rather than relying on one or two shots, take as many photos in quick succession as you can. Try using your camera’s burst mode if it has one. Hopefully this will result in at least a few shots that you can be proud of.
Good lighting is important for any kind of photography, but perhaps even more so for macro photography. It can bring its own specific challenges in terms of light, because some of the light may be blocked by your camera when you get up close, and also if you are using a smaller aperture (see next section) this can also reduce the amount of light coming into the camera.
So whilst many photographers prefer to work in natural light, there are also times when it can be helpful to use flash, using a diffuser to soften the light if necessary. If you don’t have a diffuser, try using either parts of your body or other objects to shield your subject from harsh lighting.
In our recent article Want to learn about photography? Start here. We explained the importance of the exposure triangle in photography. The exposure triangle is the balance between three camera settings – aperture, shutter speed, and ISO – to ensure that you have the best amount and duration of light for your shot.
This is particularly important if you are using flash. Generally a fast shutter speed, low aperture, and low ISO is a good combination to try for macro photography.
When setting up any shot, it is really important to get a good balance between the different elements in your shot. In our previous article Want to learn about photography? Start here we explored the concept of “the rule of thirds”, and this is a helpful way to achieve balance in a shot.
However, in macro photography, the angle of the camera can make this a little more complicated as it can throw things unexpectedly out of focus. So you need to take extra care to check that all the important elements in your image are sharp.
Experiment with positioning your shot at different angles – for example from above, the side, and below – to see which gives the most effective results. Also try moving the camera gently backwards and forwards until you see through the viewfinder the result that you want. Then get snapping!
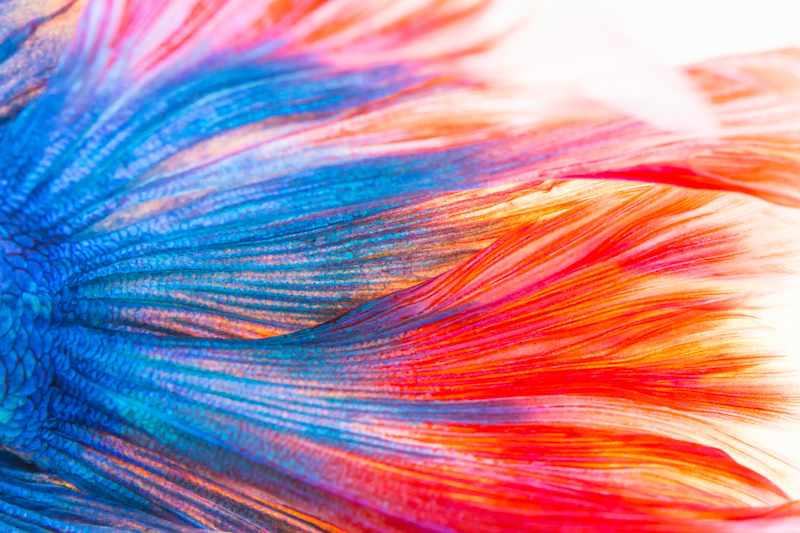
One thing you will notice as you focus closer and closer to your subject, is the myriad of tiny colour details that are not normally visible to the naked eye. When you are using a macro lens you can see so much colour you never knew was there.
To make the most of this array of colour, shoot your photos in Raw mode. This will enable you to capture all the image data recorded by your camera’s sensor, and ensure that you get accurate colour representation in the final image.
We hope that this article shows you how to succeed in macro photography .
For more photography tips, check back with us soon here at Print Your Memory’s guide section.
______________________________________________________________________________________