Many of us love to have wall art in our home. Particularly when it features photographs that bring back lots of happy memories. Looking at images that tell the story of your life and family can always bring a bit of joy into the dullest of days. And how much better to have them proudly on display as wall art rather than hidden away on your phone!
But to get some fabulous photos you need to be aware of what you are doing and have a few clever tricks up your sleeve. So in this article we share a few tips on how to take the best nighttime shots this winter.
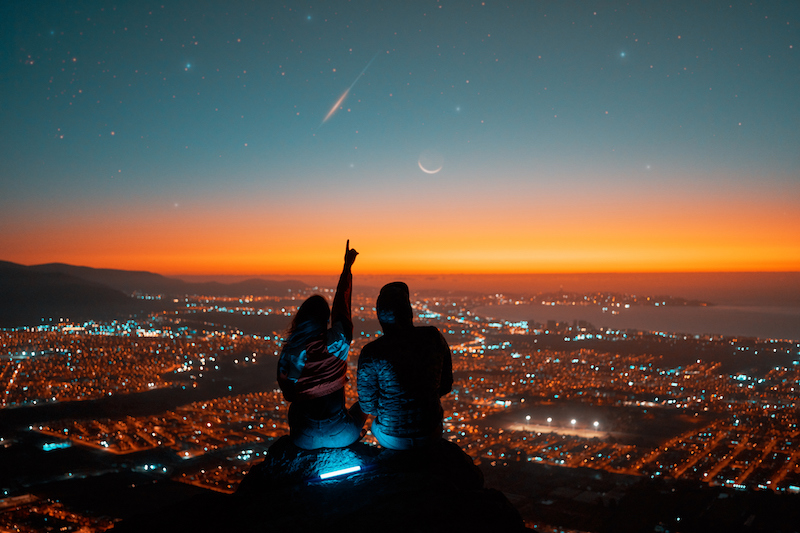
First and foremost is to make your nighttime photography an experience. Of course you hope to get some great shots, and our advice will help you to do just that. But if you also treat it as an adventure it will be much more memorable.
So check out your location in advance so you know where the best places are likely to be to get some really great shots. This will also help you to gain an understanding of the kind of light you will have to work with, and also any background factors to take into account such as traffic, footfall or any kind of access restrictions or obstacles. You will also get a better idea of the equipment you need to take with you.
And then add in a bit of fun too. Why not take along a friend as photographer’s assistant? You can then perhaps build in a refreshment break at a local establishment, or take your own nighttime picnic with you. Or at the very least you will have some company and an extra pair of hands for all your photography gear.
Just bear in mind that you are more likely to get the kind of memorable shots that you want if you put a bit of effort into advance planning – which will also hopefully make it a memorable occasion too.
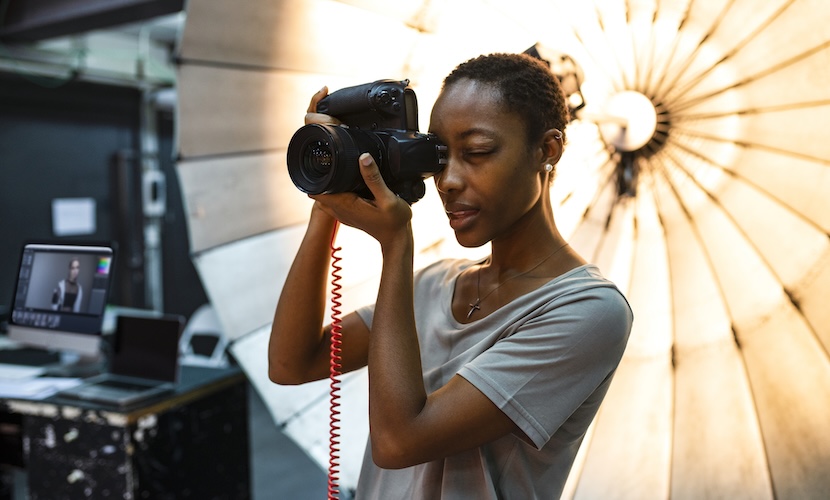
Another simple tip on how to take the best nighttime shots is to use a tripod. Taking good photographs in dark conditions means long exposures i.e. slow shutter speeds. To achieve this you need to either hold down the shutter button for longer than usual, use a remote shutter release, or adjust your camera settings. See our earlier guide – Want to Learn About Photography? Start Here! – for more information on this.
But any of the above techniques means that your camera has to be steady at all times and a tripod is the best way to achieve this. Ideally you want to have a sturdy tripod – made from aluminium or carbon fibre – that is capable of holding a heavy camera. But even if this is not logistically possible, at least get a mini tripod that you can use for a short period of time, and also to capture shots at tricky angles.
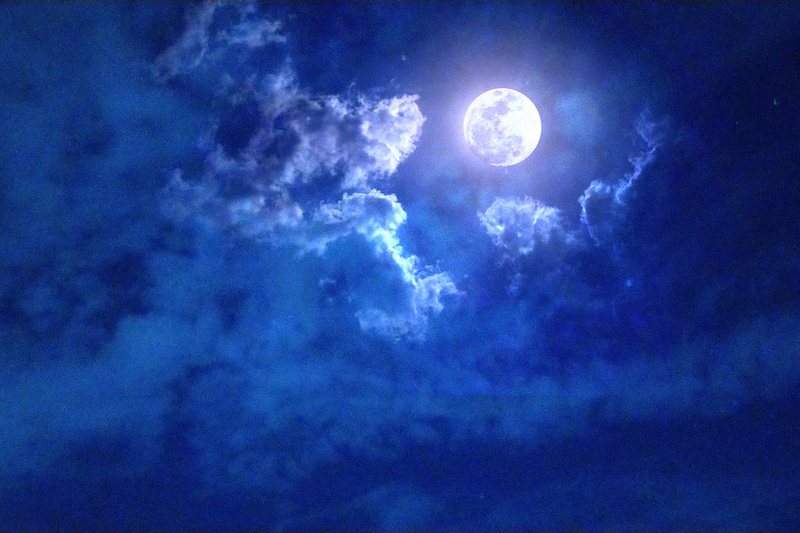

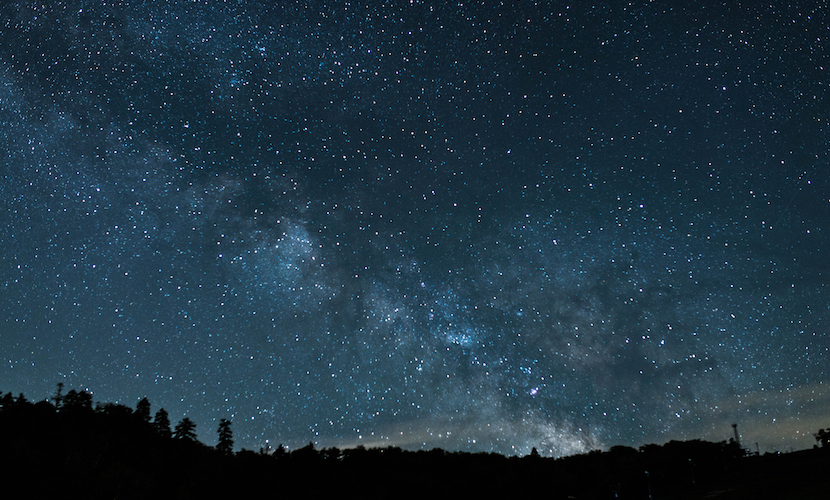
Strangely there is still quite a bit of natural light around during the night, and you can achieve some great shots using this. The advantage of using natural light for night photography is that it generally doesn’t change much throughout the night : unlike daytime when sunlight and shadows are always changing.
But at night you have a variety of light to work with, such as moonlight, street lighting and light from buildings. Keep experimenting with these different lights until you get a result that you are pleased with.
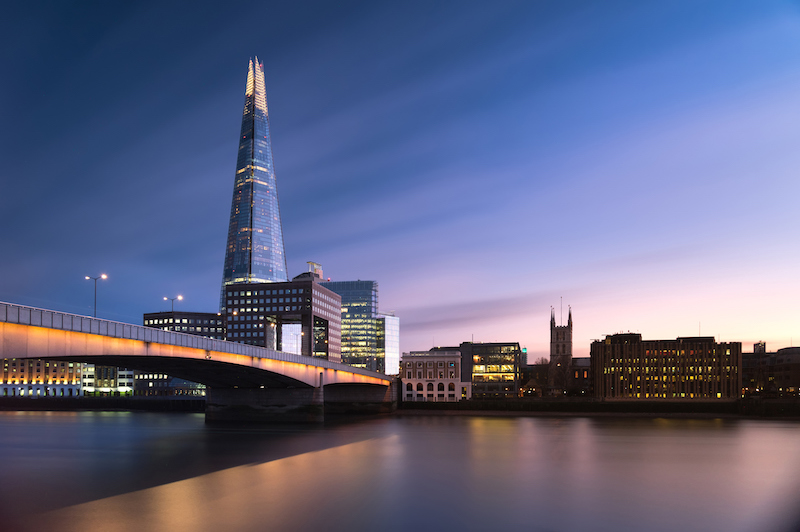
One thing that can make a difference is to focus on a subject in your photo that helps to use existing light to define shape and scale. So for example if you are photographing a building at night, position something smaller in the foreground of your shot to give a sense of scale and bring additional interest to the shot.
It is always a good idea to shoot your images in RAW format, rather than JPEG. This is the best format to use for processing your shots after they are taken, and will maximise the opportunity to play around with colours and lighting effects.
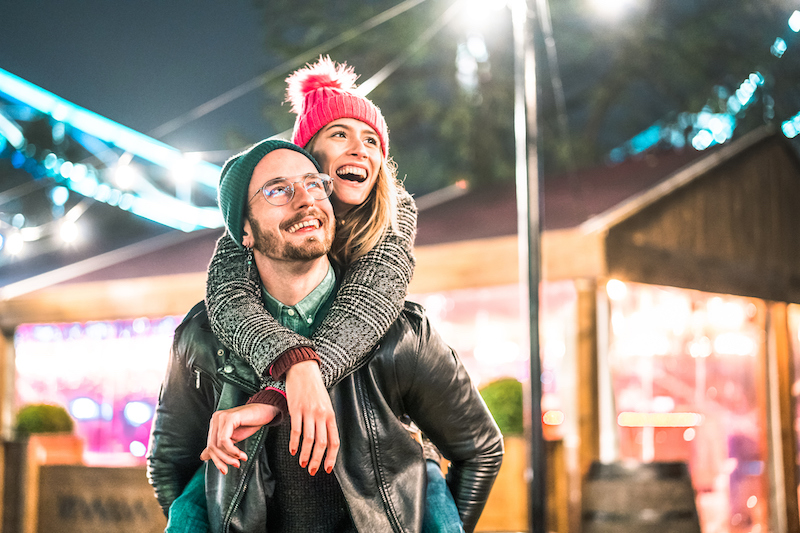
If you are taking pictures of people at night, there is the issue over whether or not to use flash. Your in-camera flash will certainly give you a clear sharp image of your subject, but everything else in the shot will be blurred and dark. If that is the effect you want, problem solved. But if you also want to include some background in the shot you could consider an external flash unit that enables you to illuminate a larger area than just the subject.
Another option would be to add some artificial light another way. Either bring a flashlight and use that, or consider phone torches. Or, if you are patient, you could wait for another source of external light such as car headlights. The main point is to make sure that you have the right balance of light to play with to create the shot that you want.
In our earlier guide – Want to Learn About Photography? Start Here! – we covered the topic of the exposure triangle. This refers to the combination of three settings : aperture, shutter speed, and ISO.
Aperture controls the amount of light coming into the camera lens, shutter speed determines the length of time during which light enters the camera lens. And ISO controls your camera’s sensitivity to light. One of the secrets of knowing how to take the best nighttime shots is to get to know the ISO settings on your camera.
In darker environments, using a higher ISO really helps to brighten your image. But be cautious of setting your ISO too high as this can cause your photo to look grainy – often referred to as “noisy” – and can result in a poor quality image. So spend time playing with your camera’s ISO levels. Try taking some test shots in low light using different ISO settings, so that you can understand at which ISO level it starts becoming too noisy.
Also bear in mind the whole exposure triangle, and once you are confident with how ISO works, add in different combinations of apertures and shutter speeds to understand more fully how these settings work together in different levels of light. This will help to elevate your nighttime photography to new heights!
We hope that our tips help you to understand more about how to take the best nighttime shots this winter and that you are delighted with the results.
Do check back here soon for more helpful photography guides from Print Your Memory.