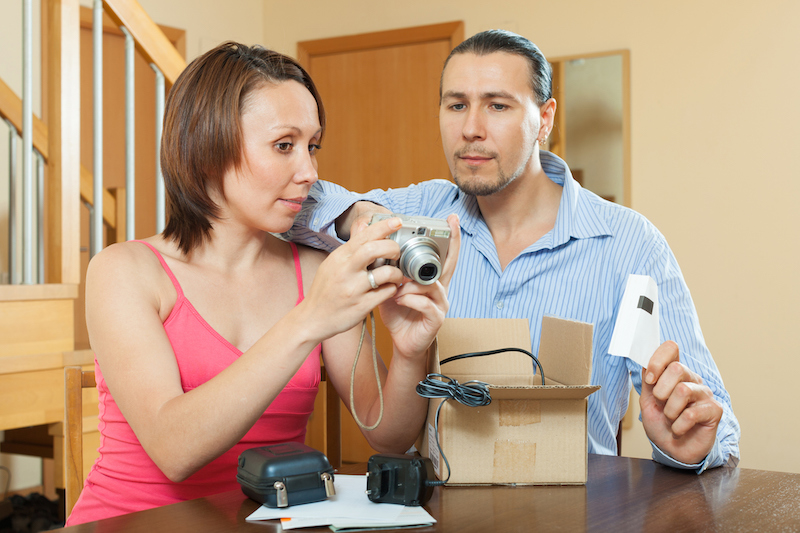
So the big moment has arrived! You finally have your new camera and can’t wait to start using it. But where do you start? What should you do first? And what are the most important things to learn about your new camera?
In this article we show you how to get to know your new camera.
Before you get started doing anything, there are five things that you should really do first. Tempting though it is to dive straight in, it is worth putting in the effort to make sure you are getting off to the very best of starts. So take a bit of time to:
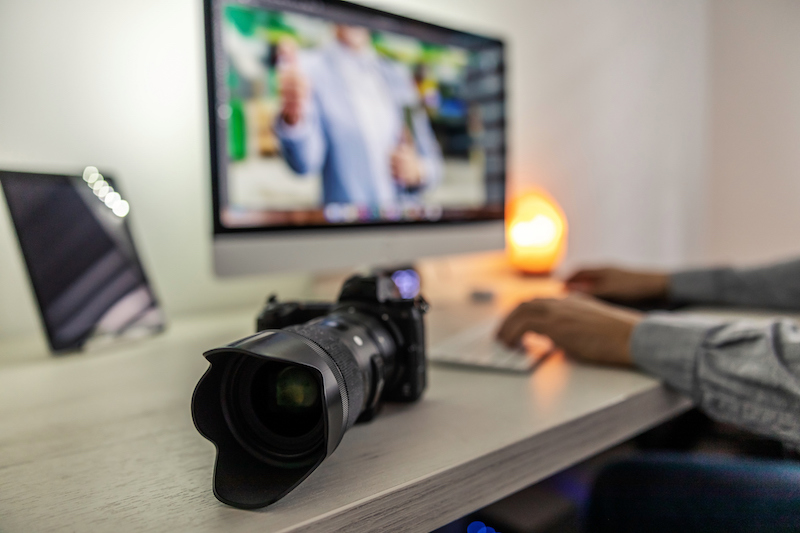

Your camera is likely to have a wide range of different settings, and it’s a good idea to set these up before you use it, then tweak as you go. Your camera manual will have more information for your specific make and model, but as a general guide you might want to look at:
If your camera has a viewfinder you should be able to adjust it to your specific visual requirements using an adjuster called a diopter, which is a tiny dial near the eye piece. This will prevent the viewfinder looking blurry.
You can set the default format and quality of the image to fit in with your typical use of the image. So for example if you anticipate doing a lot of post-processing on your images, you could set your camera to photograph in raw format. Otherwise you may prefer to use high resolution JPEG format. And most cameras even have the option to create both versions at the same time.
The drive mode of your camera determines how your camera will behave when the shutter button is pressed. The most common are Single Shot, which takes one shot at a time, and Continuous (or Burst) which will keep shooting until you remove your finger from the shutter button. But there are many other modes including Self-timer, Remote, Panorama and Multiple Exposure which are worth looking into for different uses.
Autofocus is a useful function, and you can change the settings in Autofocus Mode so that the focus points are going to achieve the results you want. If in doubt, it’s a good idea to set them so that the camera uses the centre point to focus.
The camera’s metering mode determines how the camera measures the light coming into the frame and determines the proper exposure level. You can generally choose between:
Another setting you may want to decide on is whether or not you want your camera to beep. Many cameras do this when you turn them on or take a shot, but it can be disabled from the menu. Also start becoming familiar with your camera’s menu so that you are able to navigate round it quickly when you want to change a setting or use a different function.
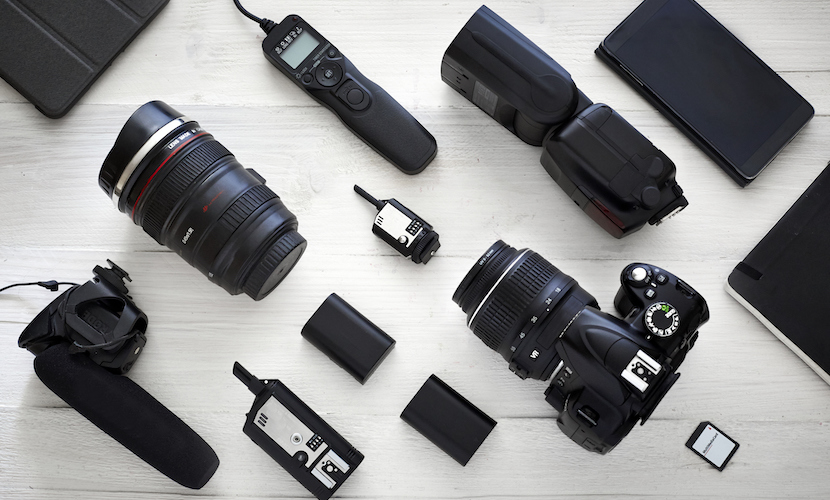
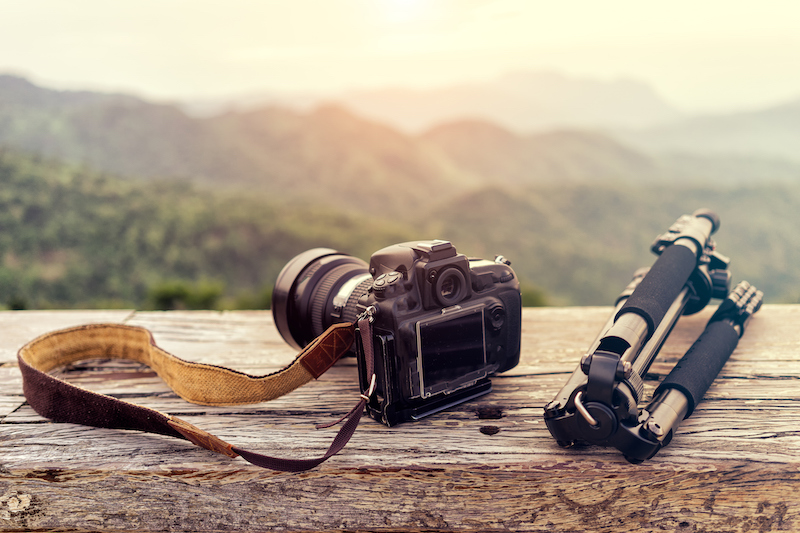
Cameras come with a wide range of accessories and you don’t need them all. So avoid the temptation to spend a huge amount of money on an equally huge bundle of accessories. It’s much better to start small and build up as you go, and understand more about what you actually need.
Having said that, you are likely to start off with basics such as a good camera strap, battery grip, tripod release plate, and perhaps lenses, filters and screen protectors. So make sure you take time to fit any of these to your camera as needed, and safely store the rest.
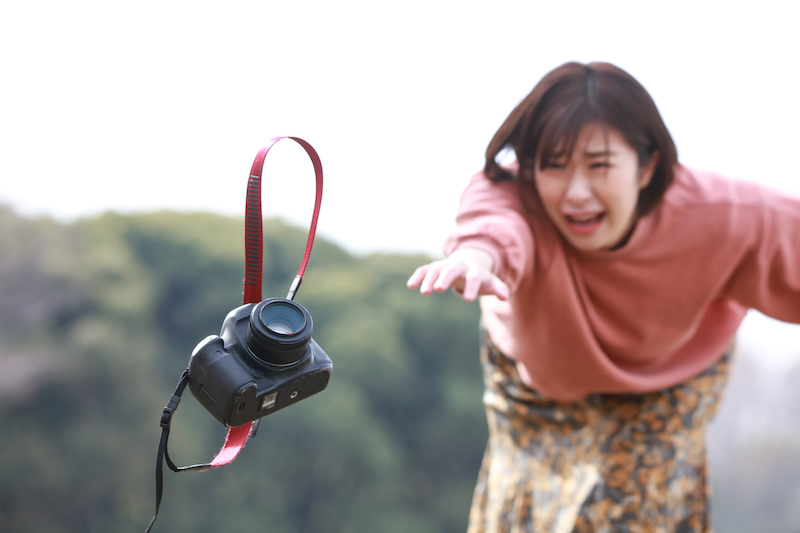
Before you take your fabulous new camera anywhere, just spare a thought for how you are going to protect it from loss or theft. For starters, it’s a good idea to label as much as you can with your contact details so that if anything is found by a good samaritan it can be reunited with you.
You should look into the best insurance for your camera in case of loss or theft. Specialist camera insurance can also cover your camera and accessories for accidental damage, mechanical breakdown including when travelling. And it’s also worth registering your camera on Immobilise – the UK’s National Property register which is used by the police to help identify the owner of recovered property.
Taking a few minutes to sort out these practicalities means that you have a better chance of getting your lovely camera back if for any reason it goes astray.

Last but not least, you are now ready to go out and shoot! This is how to get to know your new camera in action. Take time to have some fun photography sessions to give yourself a chance to learn where all the functions and buttons are on your camera. This will enable you to become confident in using your camera and able to react quickly when a perfect photo opportunity arises.
Ensure that you experiment with the three settings of the “exposure triangle”:
You can read more about the exposure triangle and the above three settings in our article Want to learn about photography? Start here!
Remember, the more you use your camera, the more familiar you will become with what it can do, and the better your results will be.
We hope that this guide has given you some useful information on how to get to know your new camera.
Good luck on your journey, and remember to check back here soon for more helpful photography guides from Print Your Memory.