Have you noticed how the word “curate” has gradually entered our vocabulary over the last couple of years? Whether the subject is events, displays or online content . . . suddenly everything seems to be curated. But what does that actually mean?
Curated means carefully chosen and thoughtfully organised or presented. And this process of choosing, arranging, and presenting items is intended to make an impact and achieve a particular response.
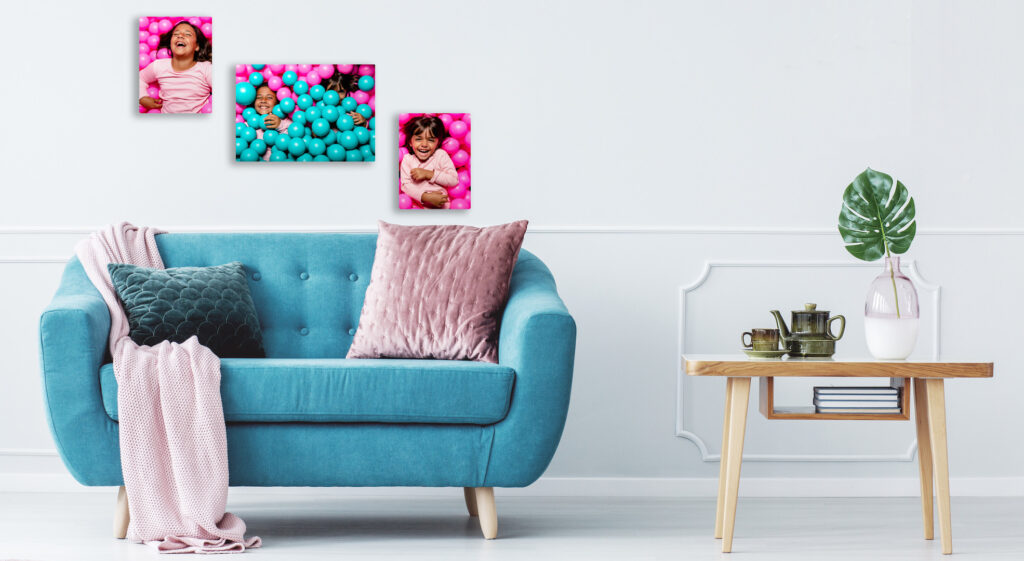
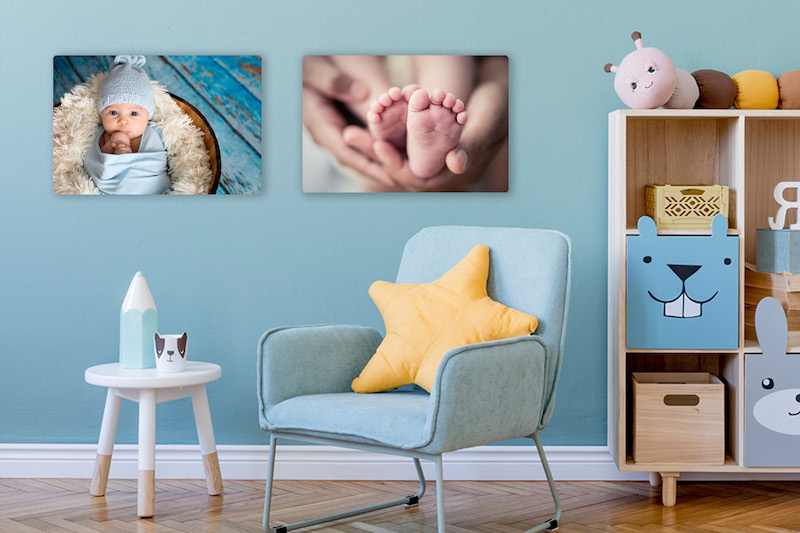
For example, you may have been considering creating a gallery wall in your home. A gallery wall is a popular way of displaying photographs as wall art. A well-designed gallery wall can be a stylish way to showcase your special memories and ensure that you see them every day. But for it to look stylish rather than a badly thought through scattering of photos, you need to curate it!
So in this article we give you five tips as to how to curate the perfect gallery wall for your home. We will take a quick look at:
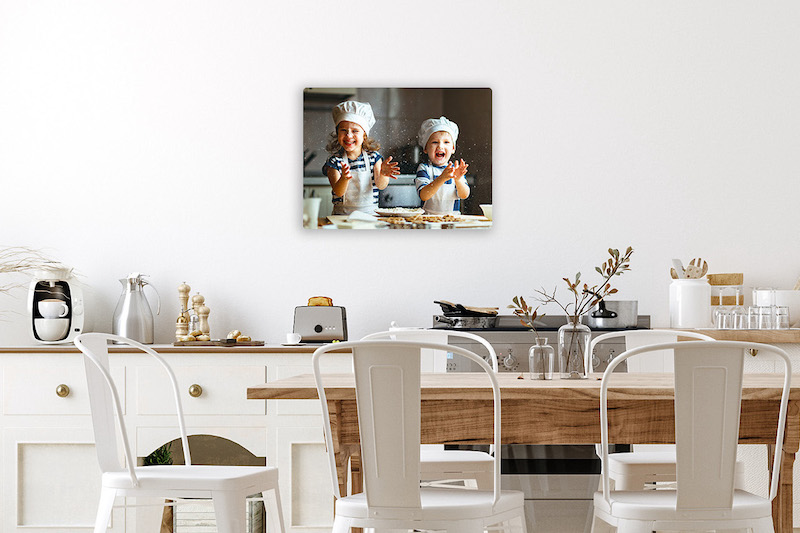
There may be several places in your home where you could locate your gallery wall. Some popular options are living room, hall, staircase, kitchen – or perhaps that little alcove that you’ve never really known what to do with.
You may even decide to locate your gallery wall outside, if your photos are displayed on media that is able to be used this way, such as high quality metal.
Wherever you site your gallery wall, remember that the main objective is for photos to be easily visible, so you need to find somewhere with lots of traffic passing by on a regular basis, and that also has plenty of light so that the photos can be seen clearly.
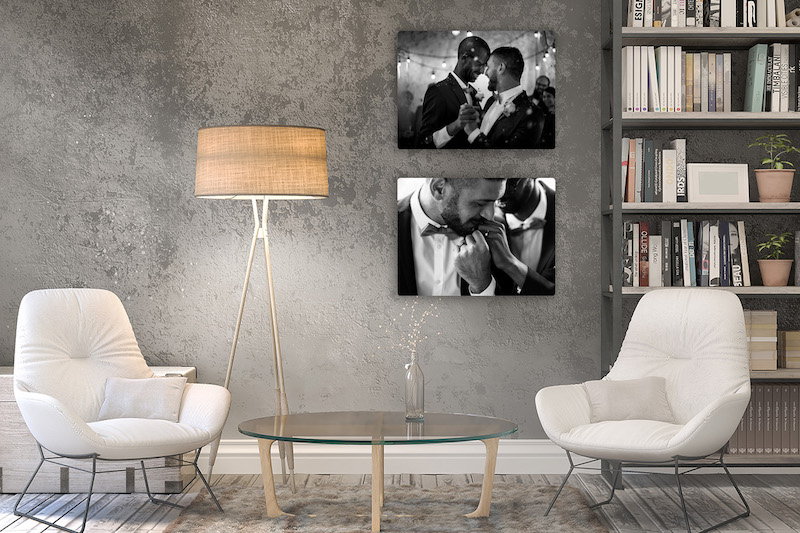
Once you’ve decided where to create your gallery wall, you need to think about styles. Do you prefer a contemporary or traditional look? In terms of shades, do you want something light and bright, or dark and moody? And will your photos be colour or black and white, or a combination of both?
At this point, just have a think about whether the wall itself is the right colour? If you are going to have lots of dark photos on there, you may want to repaint the wall a paler colour if needed. And vice versa. You need to ensure that the wall itself, and the gallery on it, achieve the impact that you are looking to create.
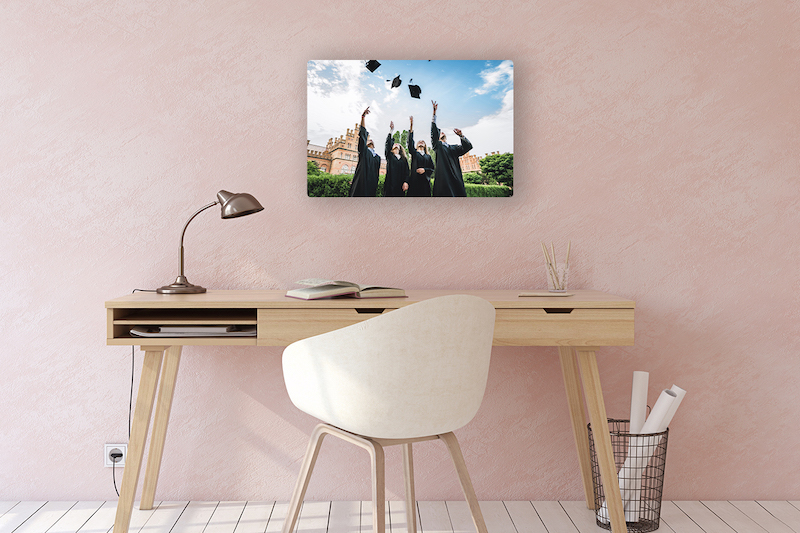
At this point, you need to decide which photos you are going to display on your gallery wall. This is the real fun part! And let’s face it, your gallery wall is not going to look good if the photos aren’t up to scratch. So spend some happy hours browsing through your photographs and making some decisions. Think whether you want some kind of theme for your wall or just an eclectic mix of your favourite photos. The choice is yours!
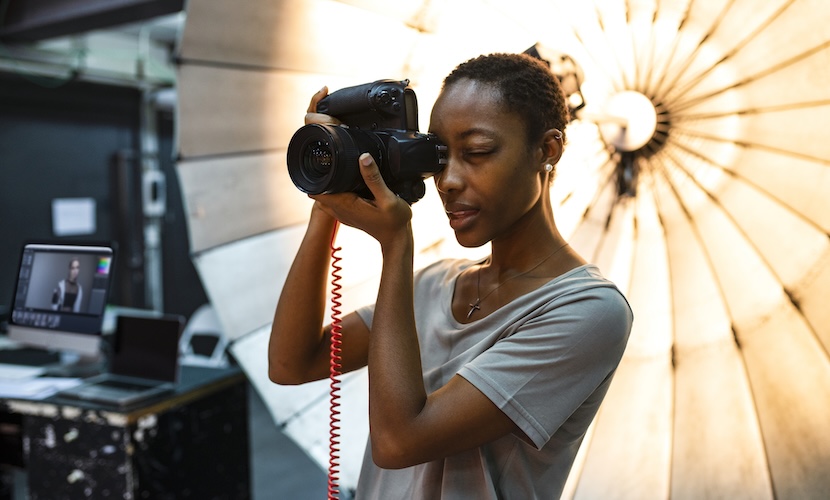
You may realise that there are some gaps in your photo library. For example, people or places that you either don’t have photos of, or they are not as good as you want them to be. If so, then make the opportunity to get some better shots. Our recent article Want to learn about photography? Start here contains lots of hints and tips about getting better photographs.

As well as ensuring the wall is prepared for your gallery, you need to consider the best media for your gallery wall art. You need to find something that is high quality and will showcase your photos at their best. You also want something that is durable and easy to clean, so that your wall art will continue to look good for years to come.
We would recommend that you consider metal prints for your gallery wall art. They have all the above advantages, as well as being sustainable and eco-friendly. Print Your Memory can create stunning wall art quickly and easily for you by printing your photos directly on premium aluminium. Your prints will be with you within 5 days and come complete with integrated wall mounting ready to hang.
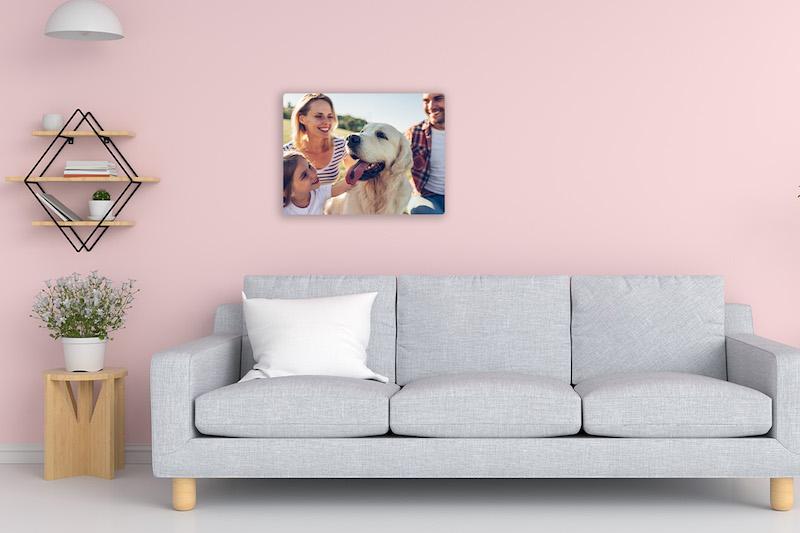
Once you have selected your photos and have them printed on your media of choice, you need to take the time to experiment with different kinds of layout. An easy way to do this is to put all your photos onto a large table or the floor, and move them around into different configurations to see what you think works best.
You may want to just display your wall art in a large grid layout, with rows of photos above and beneath each other. Or you may prefer to arrange photos into some kind of pattern, such as a circle or heart shape. Another option is to make the arrangement totally random, with photos placed at different intervals and heights, which can work well to create impact.
Whatever you decide, remember you are curating this, and every photo on your wall gallery needs not only to earn its place but be in the right one!
We hope that the tips in this article help you curate the perfect gallery wall for your home. And remember, for maximum flexibility, durability and cleanliness of your wall art, why not let Print Your Memory create stunning metal prints that will help you to enjoy your precious photographs for years to come.
Check back here soon for more lifestyle and photography tips from Print Your Memory.
______________________________________________________________________________________